Prerequisites
Before starting, you’ll need:- A Ctrlplane Workspace (cloud-hosted or self-hosted)
- The Ctrlplane CLI installed on your local machine
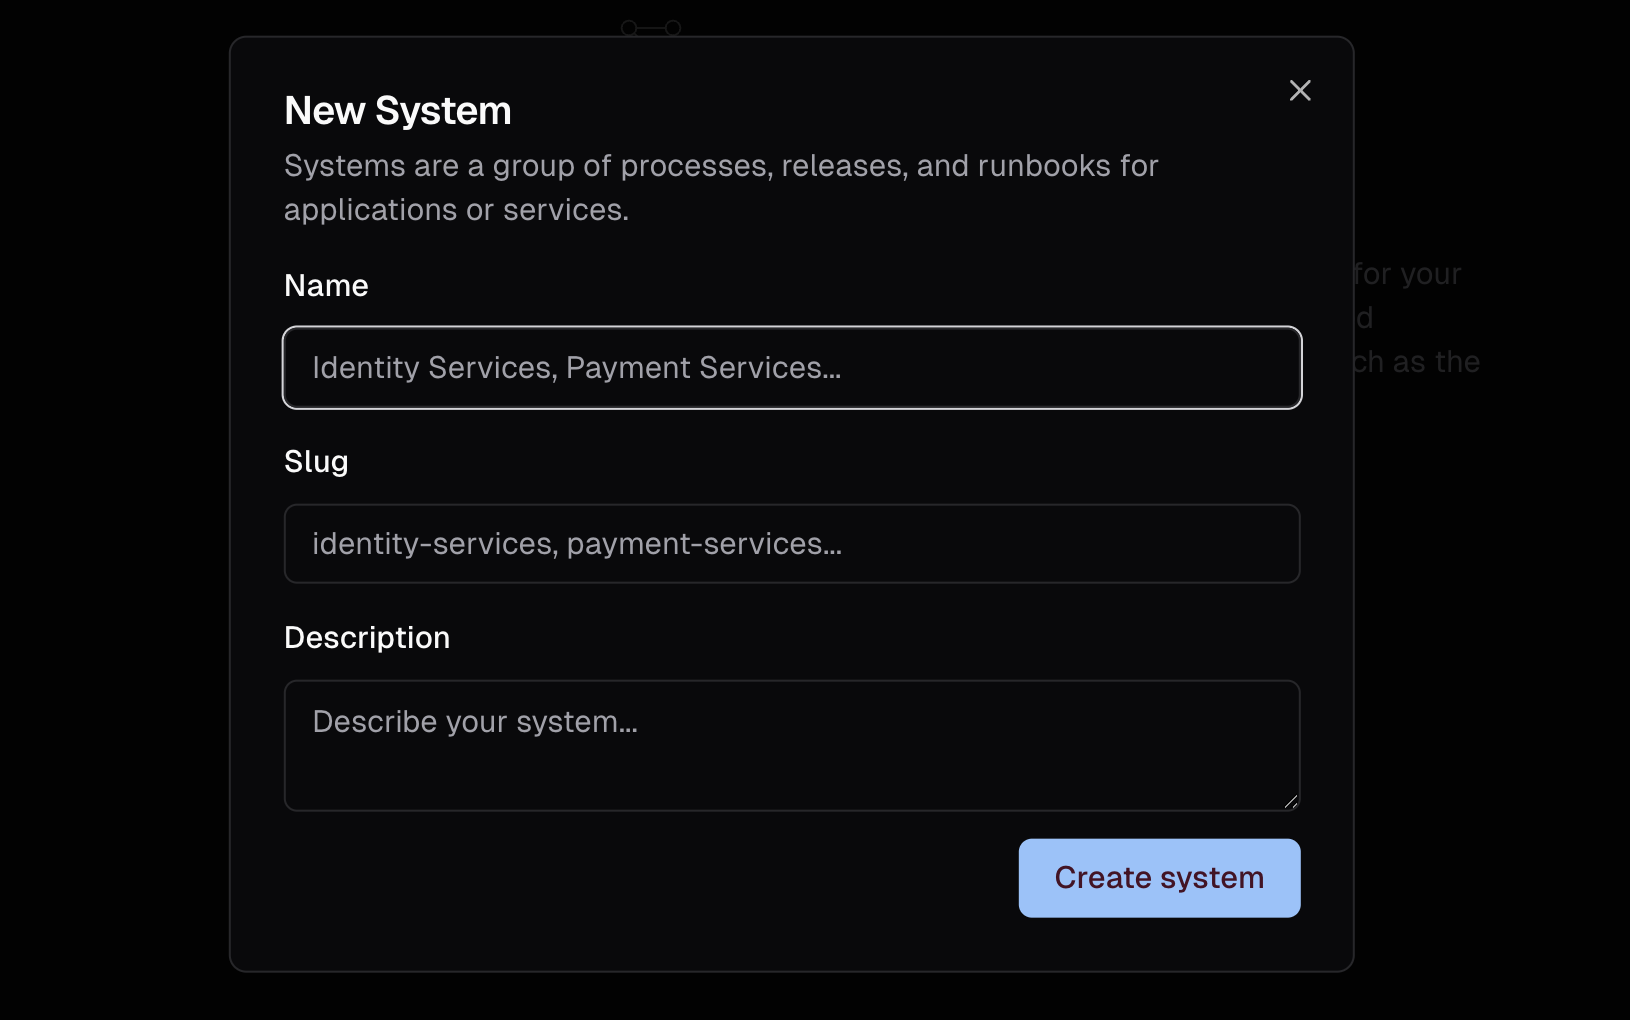
Step 1: Create a System
A System in Ctrlplane organizes related deployments and environments into logical groups. This structure helps maintain consistency and simplifies management. To create your first system:- In the Ctrlplane UI, click the
+button in the top left corner - Select
New Systemfrom the dropdown menu - Enter a descriptive name (e.g.,
Hello World Demo)
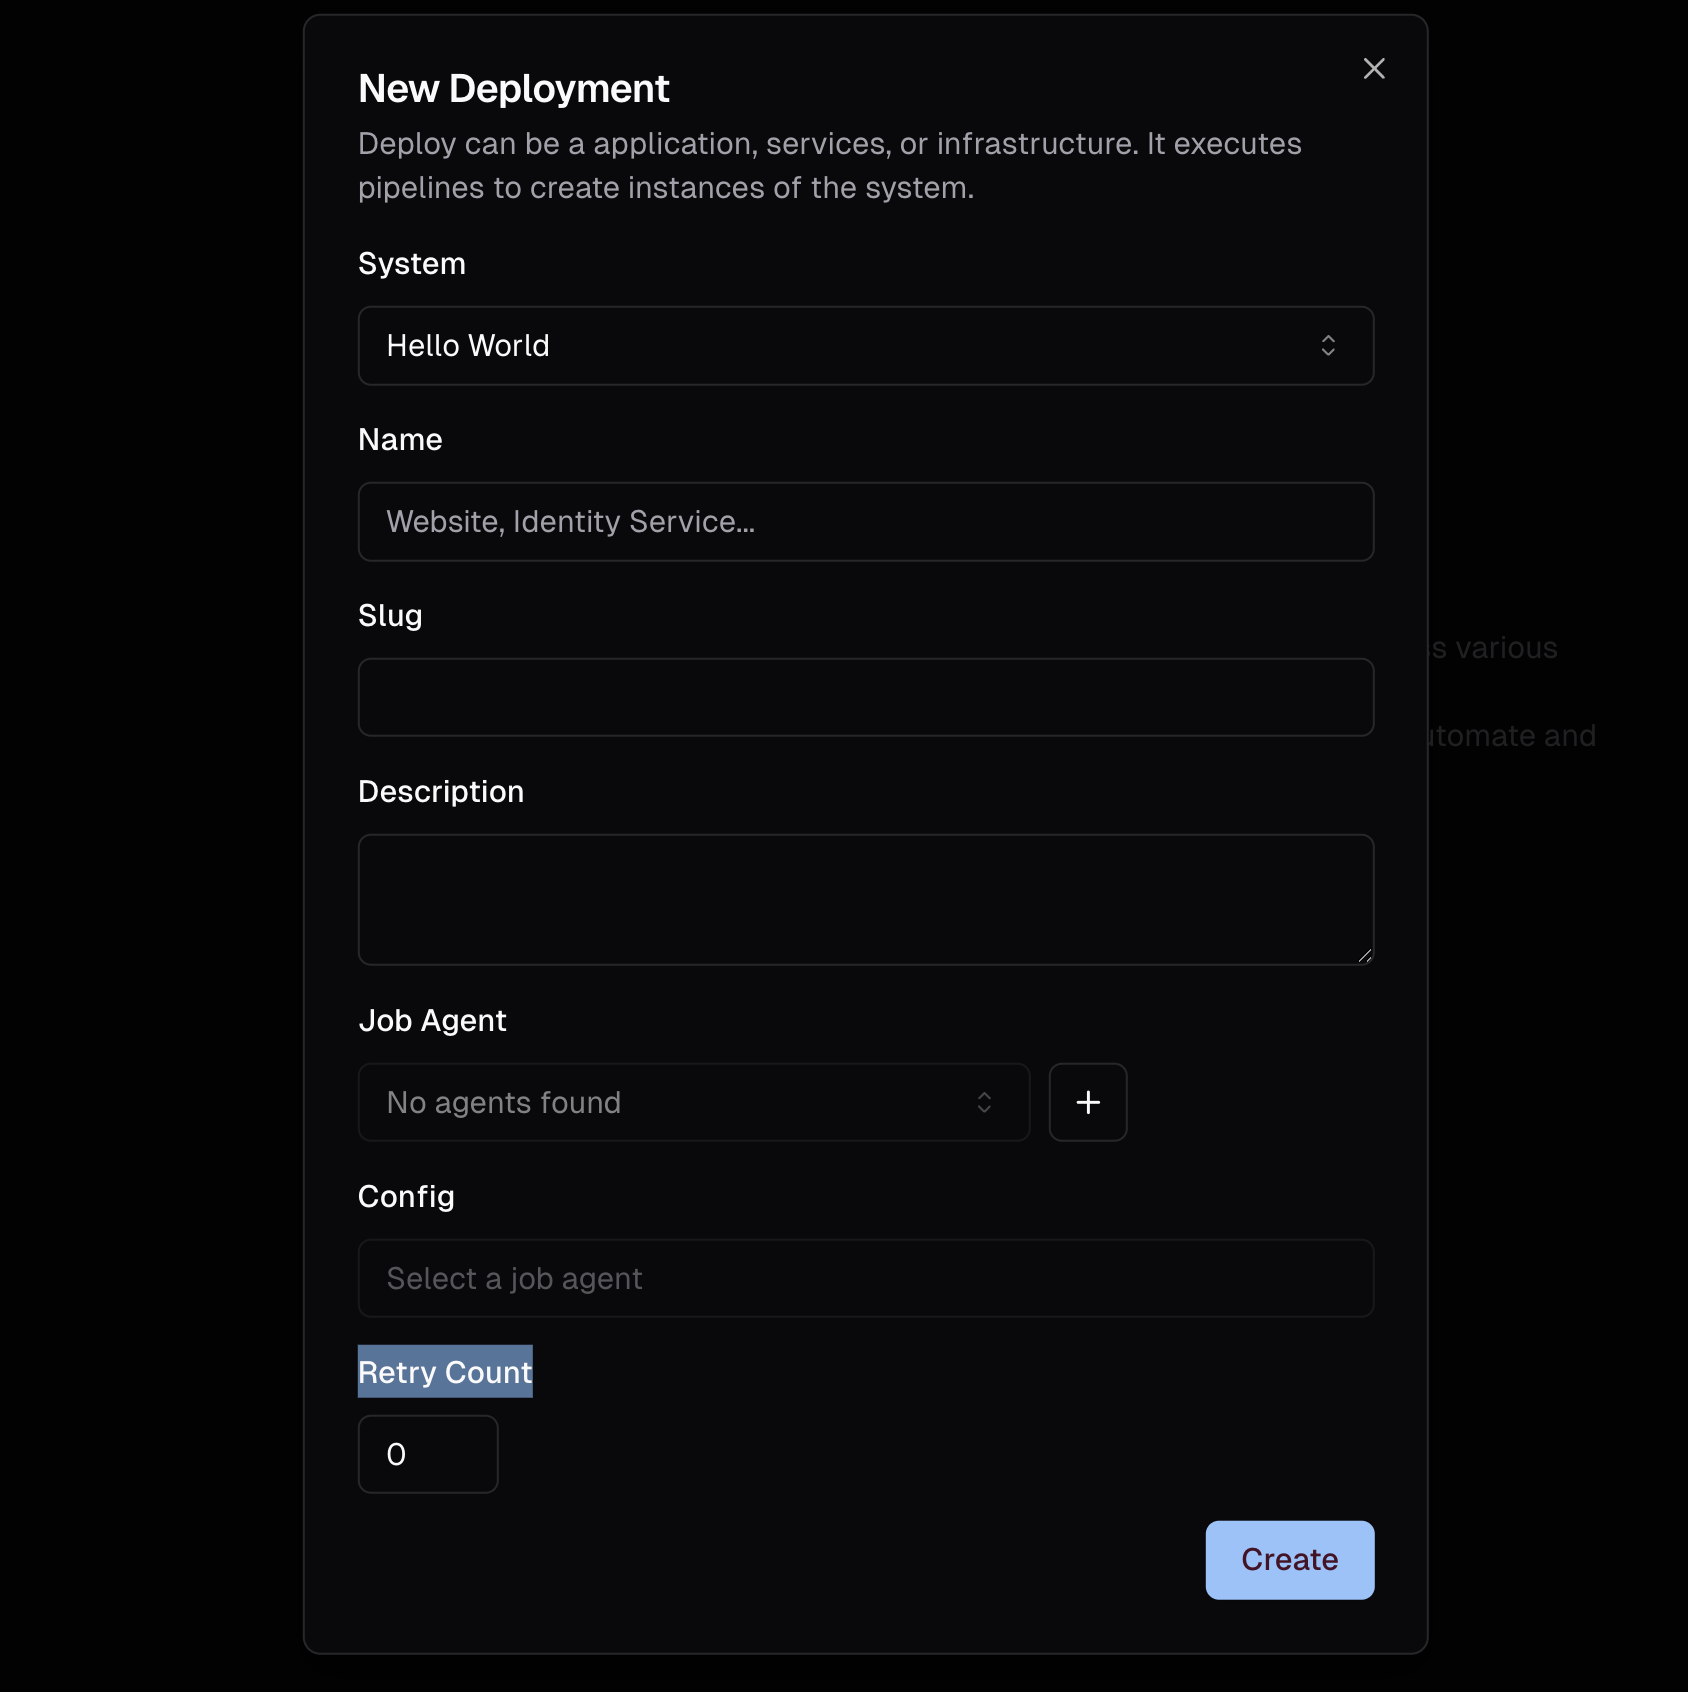
Step 2: Create a Deployment
A Deployment in Ctrlplane represents a complete delivery process for your software or infrastructure. It orchestrates how changes move through your environments. To create a deployment:- Click the
+button in the top left corner - Select
New Deploymentfrom the dropdown - Keep the default option selected for this example
- Enter a name for your deployment (e.g.,
Hello World Deployment) - Click
Create
Create a new Resource
Resources in Ctrlplane represent entities that your deployments can target - these can be infrastructure components like servers and databases, or abstract concepts like API endpoints and service accounts. For this tutorial, we’ll create a simple resource to represent a server:-
Click the
+button in the top left corner to open the menu -
Select
New Resourcefrom the dropdown -
Fill in the following details:
Field Value Description Name server-aA name for your resource Identifier deployment-server-aA unique identifier used to reference this resource within your workspace Kind ServerThe type of resource being created Version tutorial/v1The API version for this resource type Configuration {}Resource-specific configuration options (empty for this tutorial) Metadata tutorial = trueAdditional metadata tags for organizing resources under environments -
Click
Create
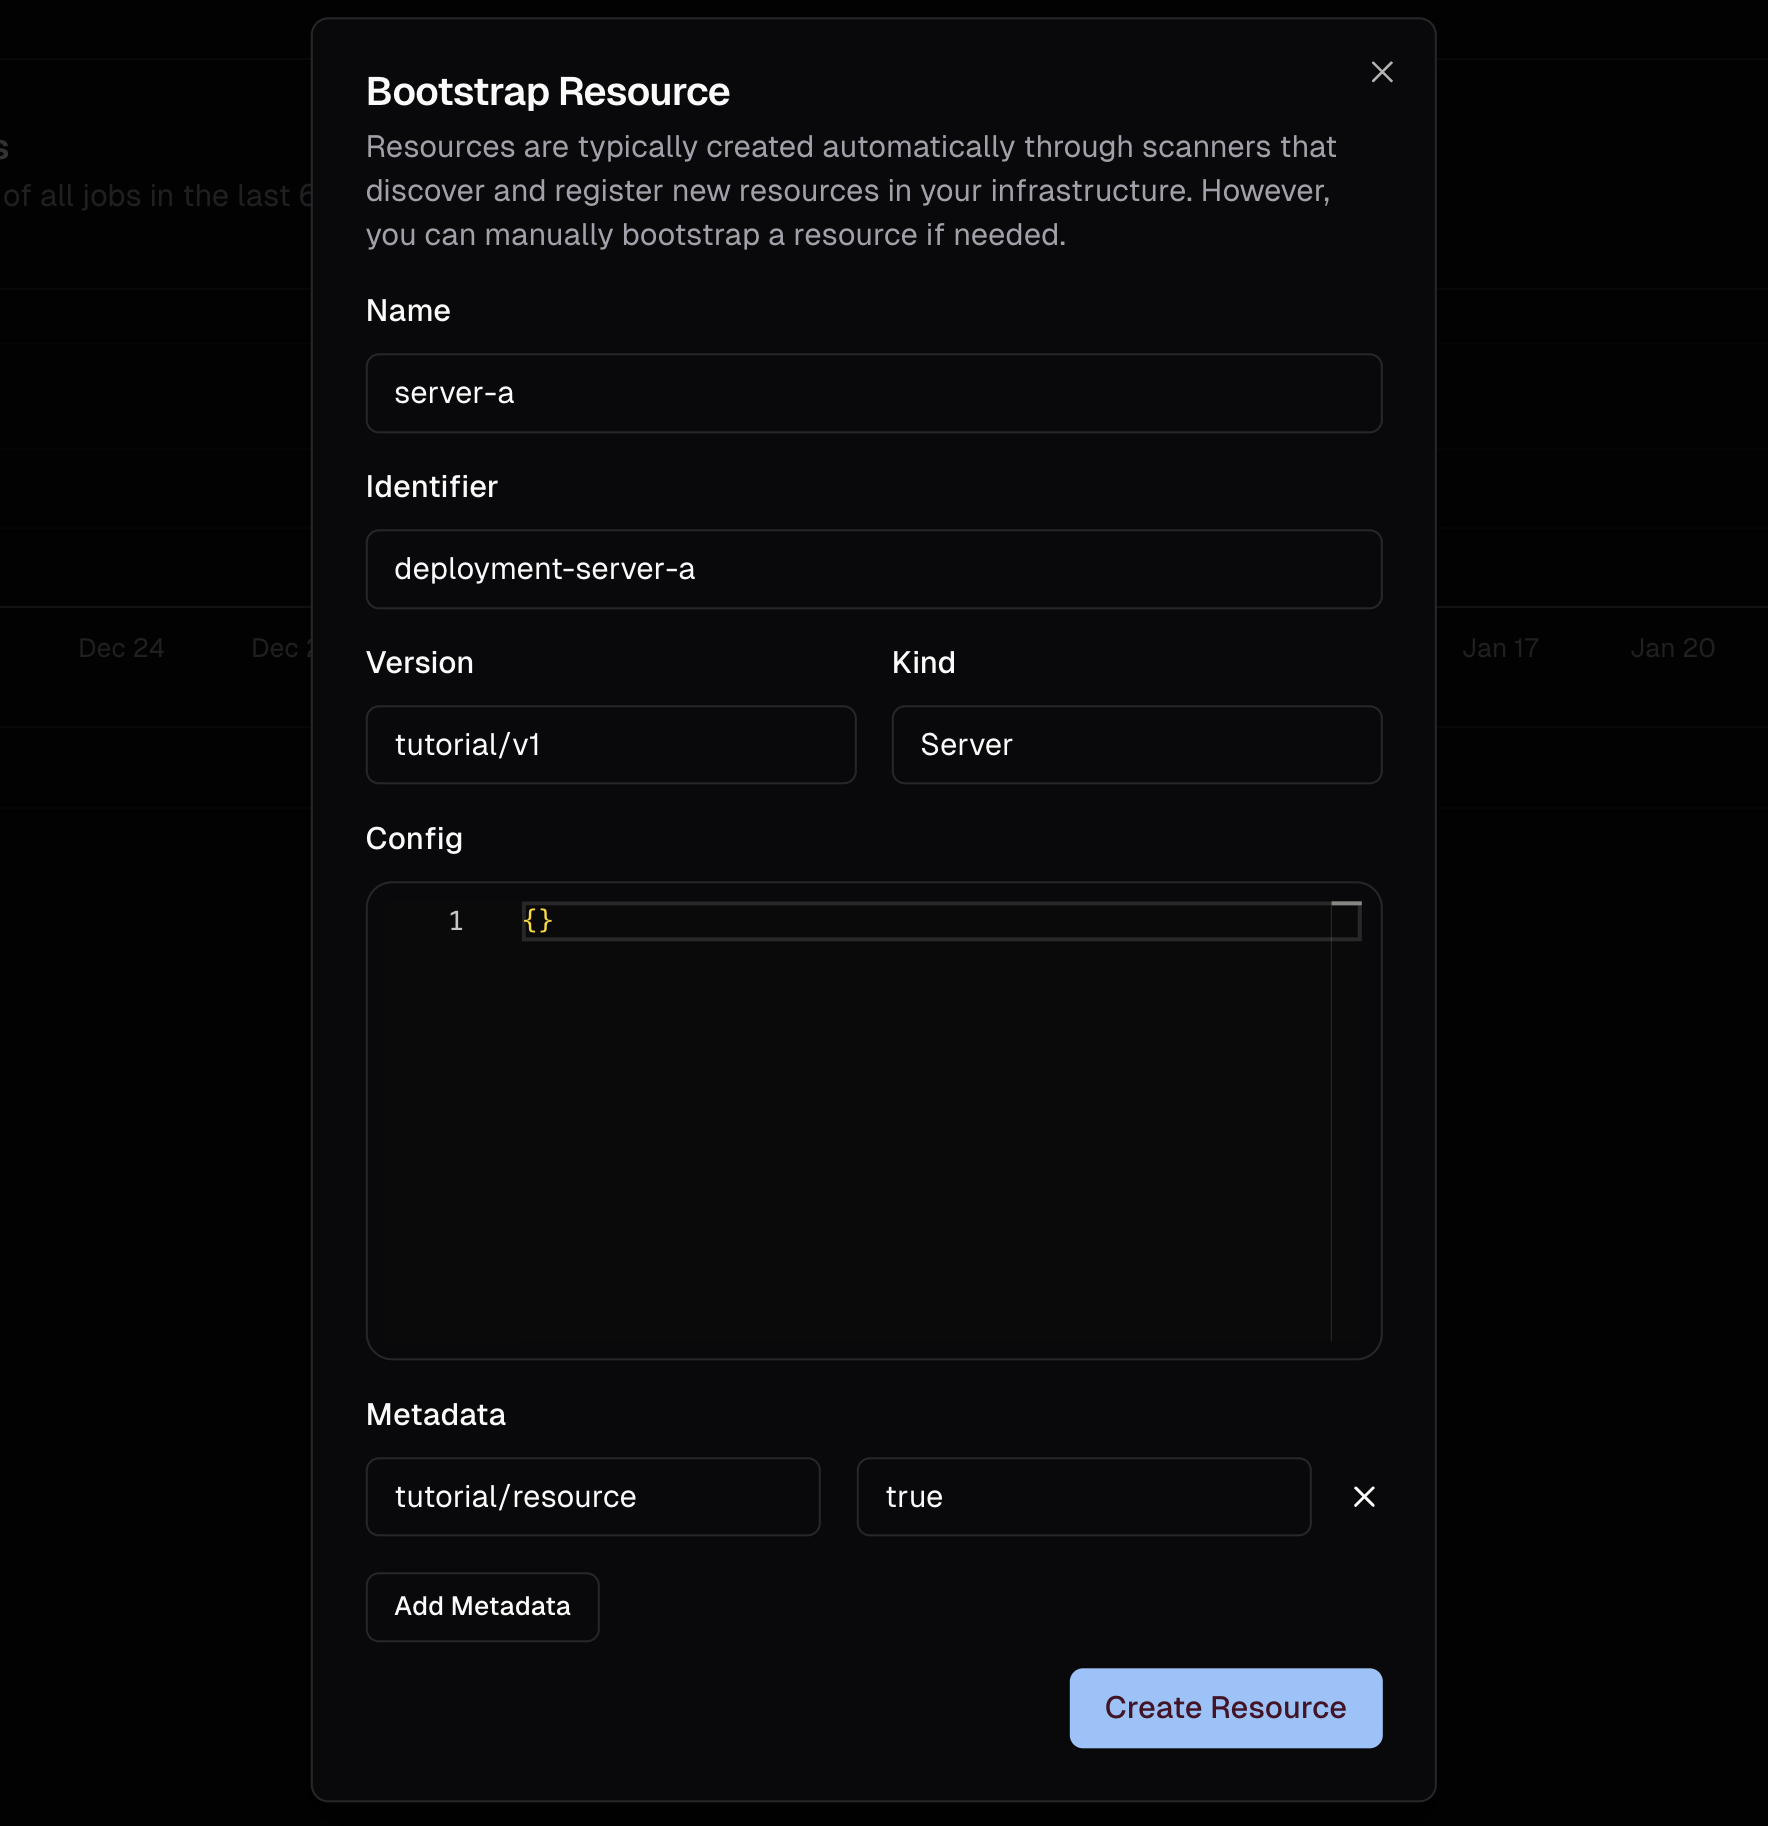
In a real deployment, you would configure additional details like connection
information and authentication. For this tutorial, we’re creating a
placeholder resource just to demonstrate the workflow.
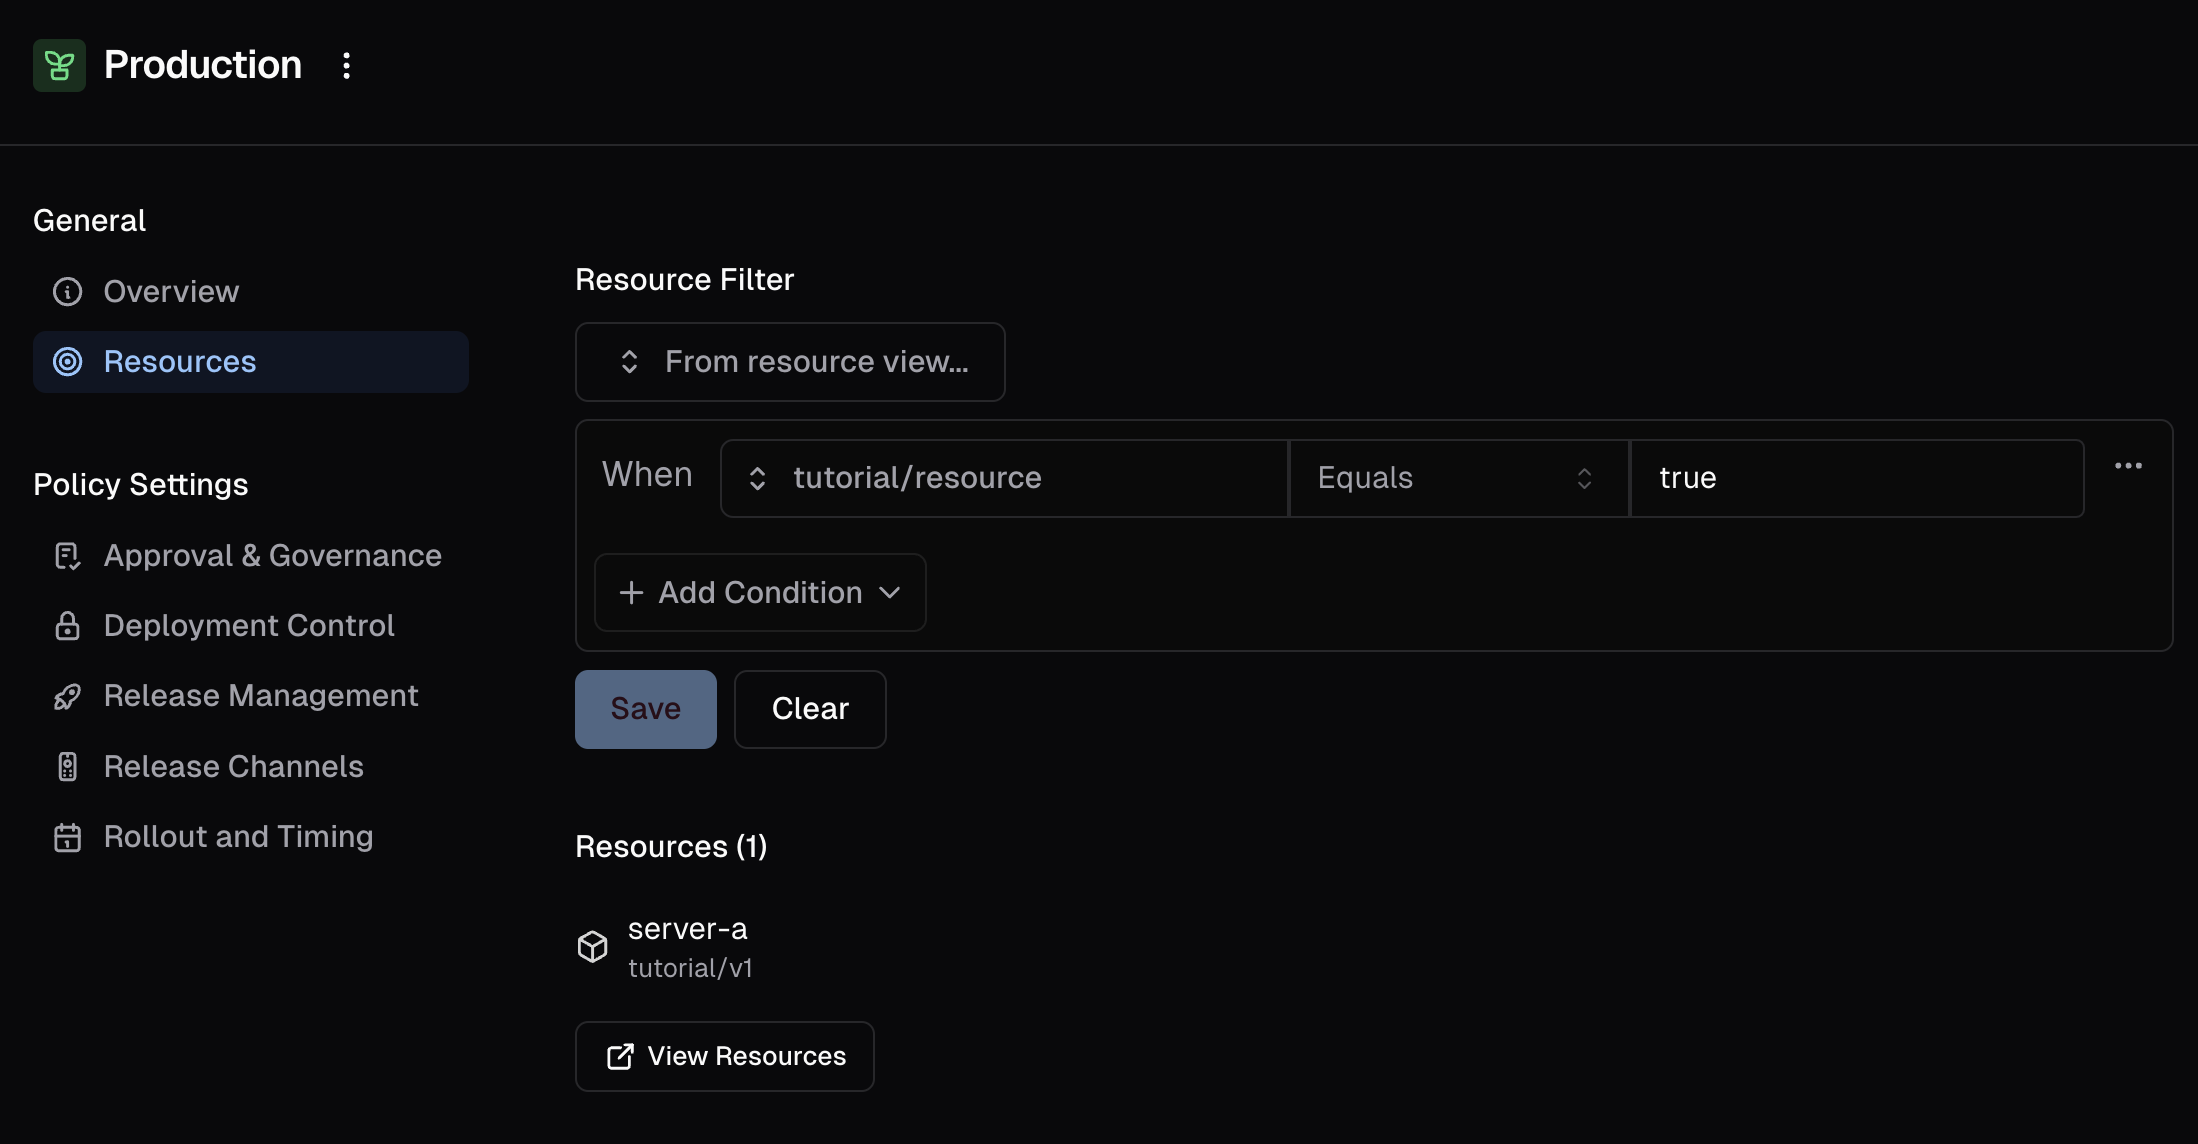
Configuring Environments
When you create a new system, Ctrlplane automatically creates three default environments:QA, Staging, and Production. For this simple
example, we’ll keep just one environment and delete the others.
To delete environments:
- Click on the “Environments” tab in the left sidebar under your system
- For each environment you want to delete:
- Click on the environment node in the tree view
- Click on the three dots menu (⋮) next to the environment name in the top left of the drawer
- Click the
Deletebutton from the dropdown
- Keep only one environment (e.g.,
Production) for this tutorial - Click on the
Productionenvironment node in the tree view - Go to the
Resourcestab - Here you can create a filter to down to the resources this environment to the resource we previously created (see image below).
While this tutorial uses a simple single environment setup, real-world
deployments often require more sophisticated environment organization.For example, in globally distributed systems, you might organize environments by
geographic regions.
Create Job Agent
A Job Agent executes deployment tasks. For this tutorial, we’ll create a job agent to run scripts on your local machine.- Download and install the Ctrlplane CLI
-
Get your API key from
<Workspace Name> > Workspace Settings > API Keys -
Get your workspace ID from
<Workspace Name> > Workspace Settings > General -
Run the following command:
This agent will execute scripts that you configure in the UI when jobs are triggered.
Job Agents execute deployment tasks in your infrastructure. In production, you
would configure agents with appropriate permissions and access to your
deployment targets. For this tutorial, we’re using a basic configuration.
Connect Agent to Deployment
- Navigate to your deployment settings page
- Find the
Job Agentssection - Select your job agent from the dropdown
- Add this simple script:
- Click
Save
Create a Deployment Version
- Navigate to your deployment page
- Click
Create Version - Enter a tag like
v1.0.0 - Click
Create